Body:
Whether you’re embarking on a complete bathroom renovation or simply updating an aging shower enclosure, installing a new shower door is typically an integral part of the process. Sleek glass shower doors not only add a sense of modern elegance but also create a more open, spacious aesthetic in your bathroom. Though the task may seem daunting, understanding the fundamental steps to installing a shower door can make the process relatively straightforward. Here is a comprehensive guide to successfully fitting a shower door for your revamped bathroom.
1. Measuring Your Space:
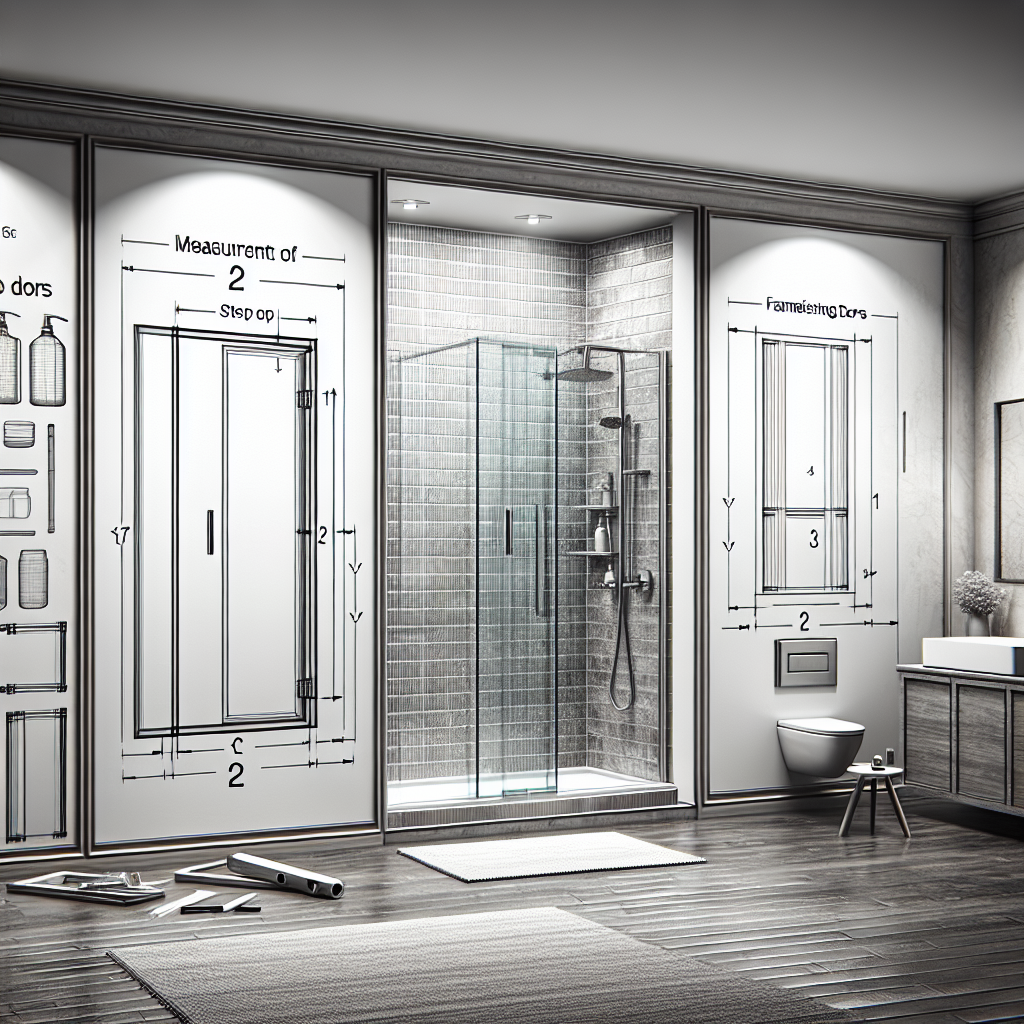
Open your shower door fitting journey by accurate measurement. This will ensure your new door fits perfectly. Start by measuring the width at the top, middle, and bottom of the shower opening from wall to wall. Now, measure the height at the left, right, and center of the space from the top of the shower or tub to the top of the opening. To ensure accuracy, it might be beneficial to record these measurements several times.
2. Choosing the Right Door:
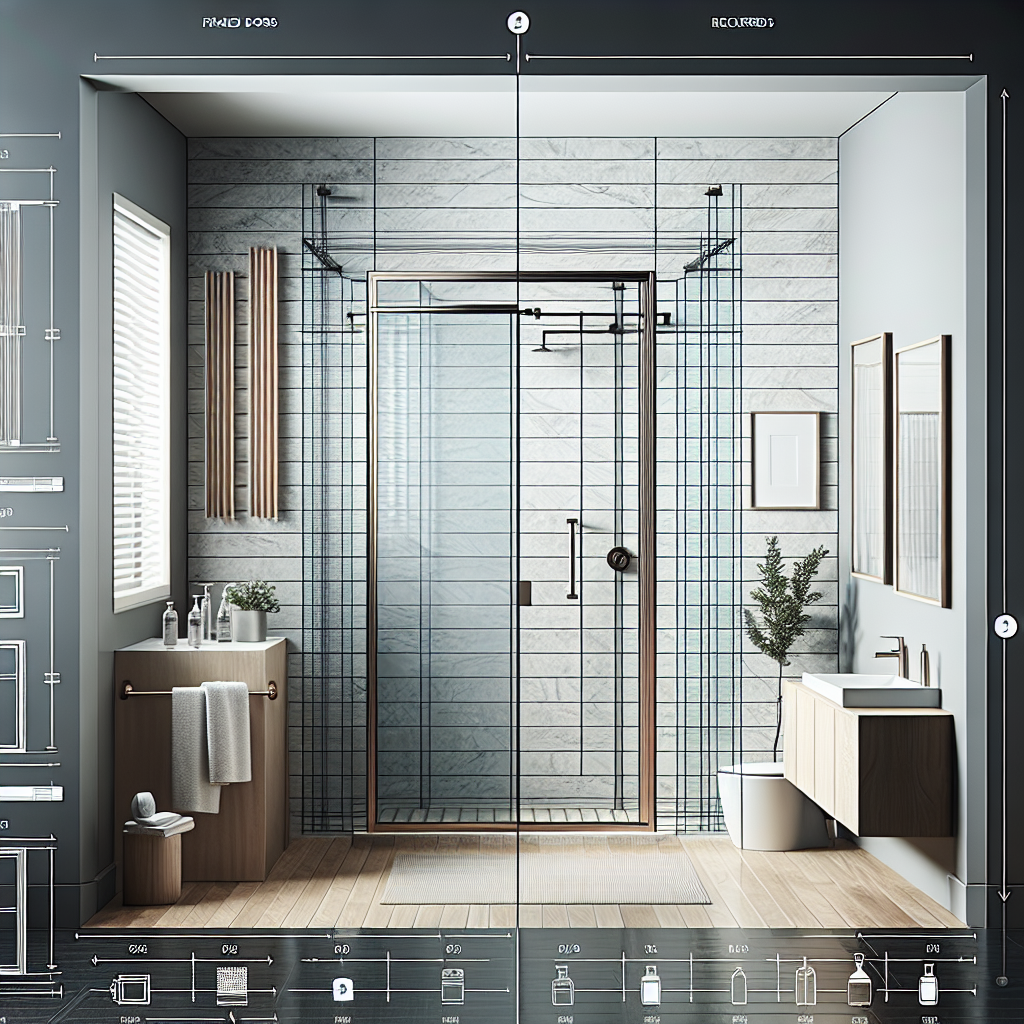
Glass shower doors come in different types, such as bypass framed doors, hinged doors, and frameless doors that can swing in and out. Depending on the size and layout of your bathroom, you should decide which door type will be most suitable. If your bathroom is small, opt for sliding doors that don’t take up much space. Those who have a larger space and are after a sleek, modern look may opt for a frameless door.
3. Purchase the Necessary Materials:
Once you’ve identified why type and size of the door you need, it’s time to gather your materials. Purchase your chosen shower door along with any additional installation items, such as a door handle, hinges, and seals. Also, don’t forget to gather essential tools like a tape measure, leveler, drill, screwdriver, pencil, and silicone sealant.
4. Installing The New Door:
Start by placing the base track on the shower threshold, aligning it with your measured markings. Secure this in place using your drill and screws. Next, if your chosen shower door comes with side tracks, secure them vertically to the walls, aligning them with your base track. After the tracks are secured, place your door or doors in the tracks. For hinged doors, fix the hinge sides to the wall and then attach the door. Remember to double-check whether your door swings or slides as expected. Lastly, add the door handle according to manufacturer’s instructions.
5. Sealing Everything Up:
Apply a thin bead of silicone sealant along the outer edges of the shower door frame. This will keep water inside the shower and prevent leakage. Allow the sealant to dry for a full 24 hours before using your shower to ensure it cures properly.
6. Don’t Forget Aftercare:
Once your shower door is fitted, it’s essential to establish a routine for cleaning and maintenance. Using a squeegee after each use can prevent water spots and keep your glass shining. Regularly check the silicone sealant for signs of wear and periodically reapply if necessary.
Arming yourself with this critical information can help turn your shower door installation from a daunting task into a manageable project. You’ll be enjoying your upgraded bathroom in no time and take pride in the knowledge that you did it yourself. However, if you find yourself unsure or find the task overwhelming, remember that it’s always okay to hire a professional to ensure victory in your bathroom renovation battle.


